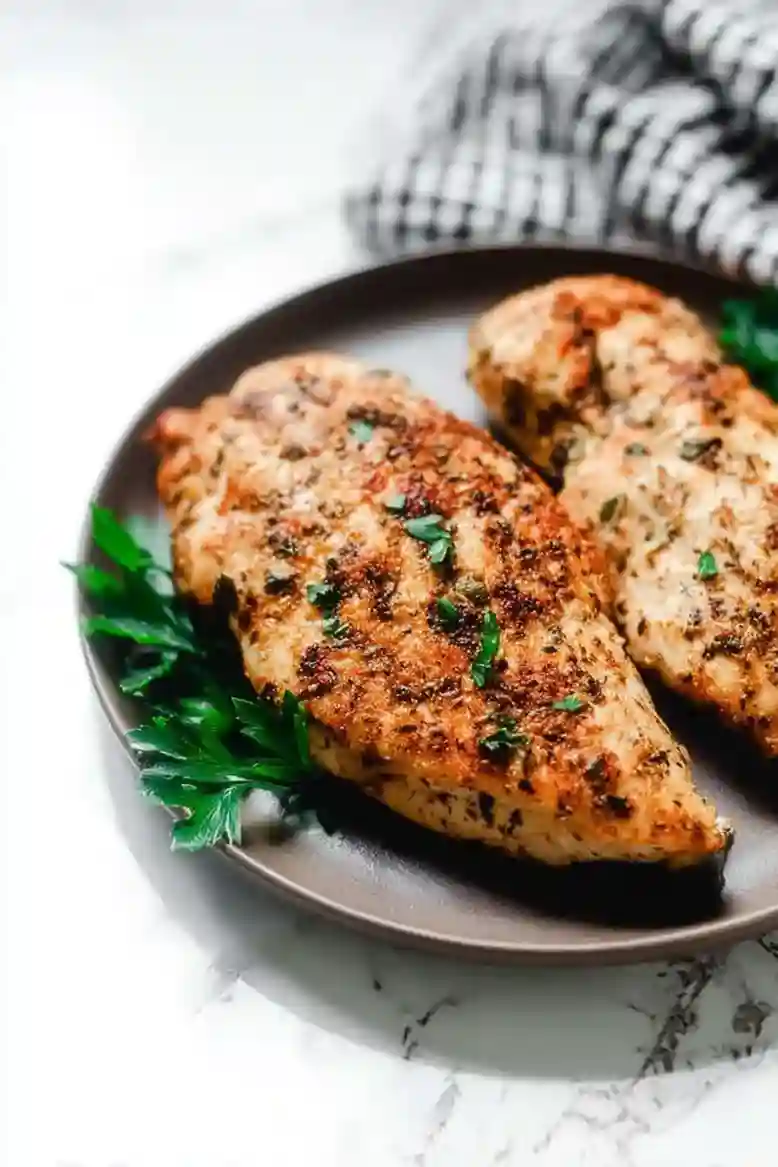
I’ve got a tasty treat for you today: air fryer brined chicken breast. If you’re looking for juicy and flavorful chicken that cooks up quickly, then you’re in for a real win with this recipe!
This recipe solves issues of dry chicken, uneven cooking, and over-salting with precise brining and pound technique for consistent results.

I know how tricky it can be to get chicken just right. It often turns out dry or unevenly cooked, and that’s no fun at all. This recipe is meant to tackle those problems. The brine helps keep the chicken moist, and the air fryer cooks it perfectly every time.
This dish is super quick, taking just about 10 minutes to cook after a 5-minute prep. Plus, there’s no need for any breading, which keeps it healthier and gluten-free. You can whip this up in under 20 minutes, perfect for busy weeknights or meal prepping for the week ahead.
Why You Will Love This Recipe
- Juicy and Tender , Brining keeps the chicken moist and flavorful, so you get a juicy bite every time. You won’t have to worry about dry chicken anymore.
- Quick Cooking , With a total time of just about 15 minutes, this recipe is perfect for a busy weeknight. You can have dinner on the table in no time.
- Meal Prep Friendly , Cooked chicken can be stored in the fridge for days, making it super easy to whip up quick lunches or dinners throughout the week.
- Healthy Option , No breading or heavy sauces here, just flavorful chicken that fits well into various diet plans. It’s a wholesome choice for any meal.
Ingredient Notes
- Boneless skinless chicken breasts: You’ll want these for their tenderness and quick cooking time in the air fryer. Look for the freshest ones, and pound them a bit for more even cooking.
- Kosher salt: This brining staple helps enhance the chicken’s natural flavor. If you don’t have it, table salt works fine but use a little less since it’s more concentrated.
- Olive oil spray: A quick spritz of this adds a nice golden touch while preventing sticking. Use a good quality spray for the best results.
- Garlic powder: This adds that yummy savory kick. I love using garlic powder because it’s super convenient! Fresh garlic can also work if you prefer that punchy flavor.
- Onion powder: It’s perfect for that sweet, aromatic boost! If you’re out, you could swap in some finely chopped onions, just be mindful they’re more potent.
Keep scrolling to the recipe card below for the full printable recipe!
Recipe Tips
- If brined chicken breasts feel dry, check the internal temperature with a meat thermometer; it should reach 165°F for optimal moisture.
- When cooking, pound the chicken to an even thickness of about 3/4 inch; this ensures consistent cooking and better texture.
- If you find the brine too salty, reduce salt to half a cup or soak the chicken for only 30 minutes for a milder flavor.
- For best results, brine the chicken for 1-2 hours; this helps lock in moisture during cooking and improves tenderness.
- If you can, let the chicken rest for 5 minutes after cooking; this allows juices to redistribute for juicier bites.
Serving Suggestions
- Serve air fryer brined chicken breast alongside roasted vegetables such as broccoli or asparagus. Pair it with whole grains like quinoa or brown rice.
- Shred the chicken and add to a fresh salad for a lighter meal option. This chicken is also suitable for meal prep or summer grilling with family.
- You may enjoy it with a drizzle of your favorite sauce like a light vinaigrette or a yogurt-based dressing. A squeeze of fresh lemon juice adds brightness before serving as well.
Storage Guidelines
- To keep your air fryer brined chicken breasts fresh, follow these storage tips:
- Refrigeration: Store cooked chicken breasts in an airtight container in the fridge for up to 4 days. This keeps them safe.
- Freezing: Freeze cooked chicken in a single layer, then transfer to a freezer-safe bag for up to 3 months. Thaw overnight in the fridge.
Recipe Variations
- You can use table salt instead of kosher salt for brining your chicken breast.
- Add 1 teaspoon of lemon zest for a fresh citrus flavor that complements the chicken.
- Either fresh rosemary or thyme can replace the garlic and onion powders for a herbal twist.
- For larger batches, use 6 small chicken breasts and double the brining salt to 1/2 cup.
Did you make this recipe? Scroll down to leave a star rating and review!
Air Fryer Brined Chicken Breast

Equipment
- Air fryer
Ingredients
- 4 small boneless skinless chicken breasts about 6 ounces each
- ¼ cup kosher salt (60g)
- 6 cups lukewarm water (1.42 liters)
- olive oil spray
- ¾ teaspoon garlic powder
- ¾ teaspoon onion powder
- ½ teaspoon dried parsley
- ½ teaspoon smoked paprika
- ⅛ teaspoon cayenne pepper
Instructions
- Start by mixing 1/4 cup kosher salt into 6 cups of lukewarm water until it dissolves completely. The water should taste a bit salty but not overwhelming. This brine helps keep the chicken moist while cooking, so be careful not to leave it in too long, or it might become overly salty.
- Place the chicken breasts in the brine, ensuring they are fully submerged. Let them soak for 1 to 2 hours—the longer, the better for flavor and juiciness. Keep an eye on the time to avoid a salt overload; the brine is meant to enhance, not overpower.
- After brining, take the chicken out and rinse it under cold water. This washes off the excess salt. Pat the chicken dry carefully; moisture will prevent that nice golden-brown crust in the air fryer.
- Spray the chicken lightly with olive oil, and then sprinkle the garlic powder, onion powder, dried parsley, smoked paprika, and cayenne pepper on both sides. The chicken should look well-seasoned with vibrant colors.
- Place the chicken breasts in your air fryer basket in a single layer. Set the air fryer to cook at 375 degrees F (190 degrees C) for about 10 minutes. Keep an eye on them to ensure even cooking; overcrowding the basket can lead to uneven results.
- Use a meat thermometer to ensure the chicken is fully cooked; it should reach an internal temperature of 165 degrees F (74 degrees C). The chicken should feel firm, and juices should run clear. If they are still pink, pop them back in for a few more minutes.
- After cooking, let the chicken sit for a few minutes before slicing. This step allows juices to redistribute, keeping the chicken moist. Skipping this step can leave you with drier bites.
Leave a Reply